
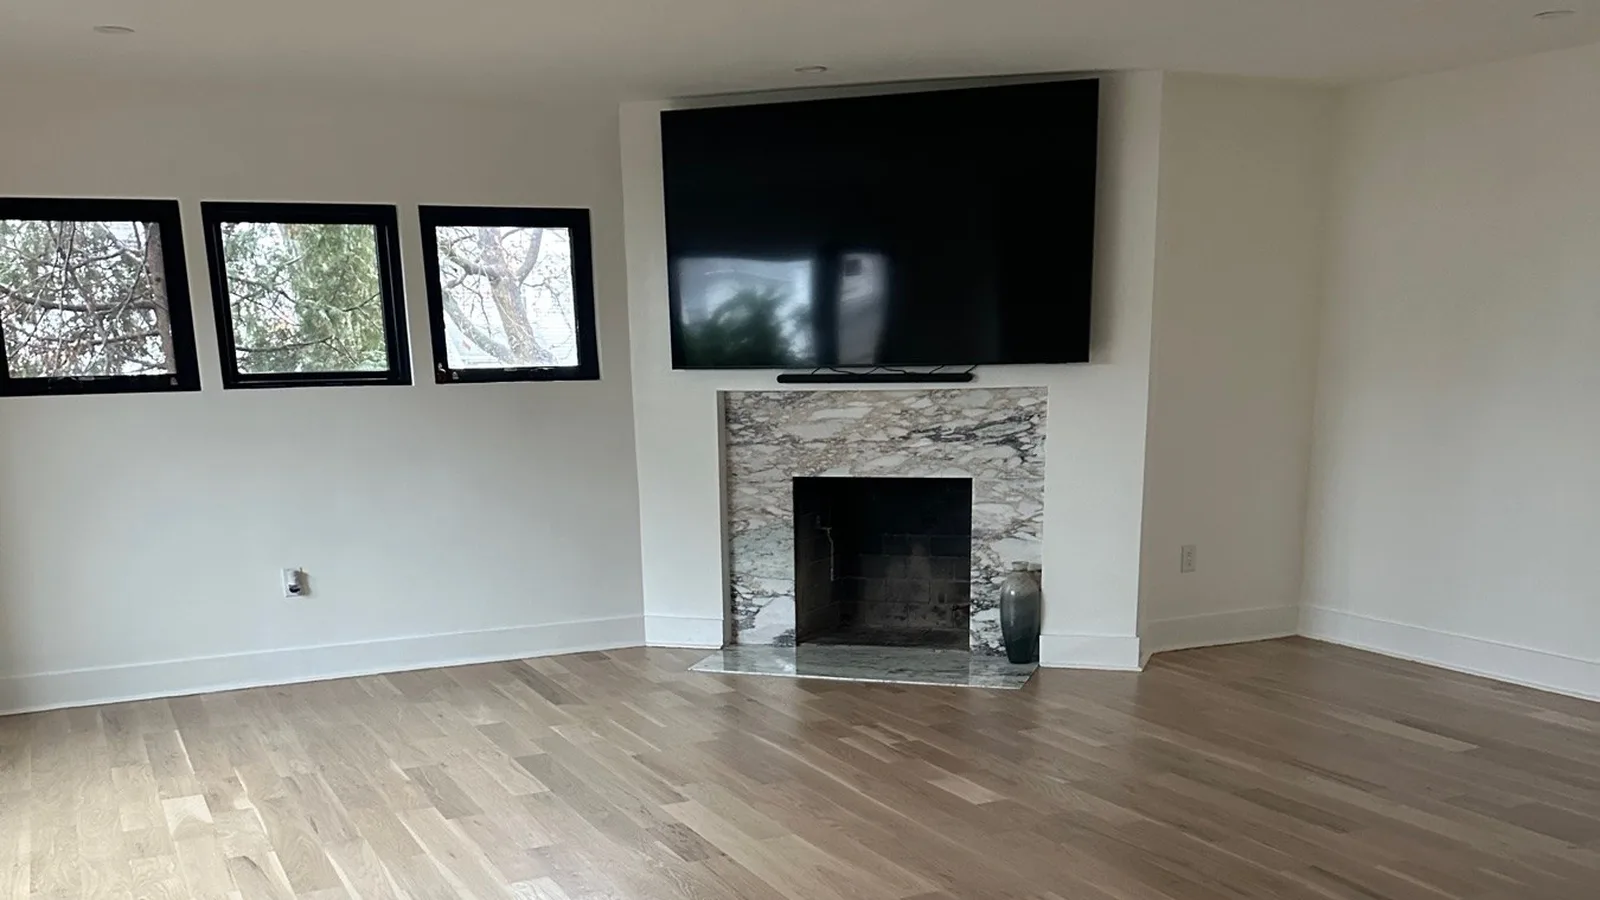
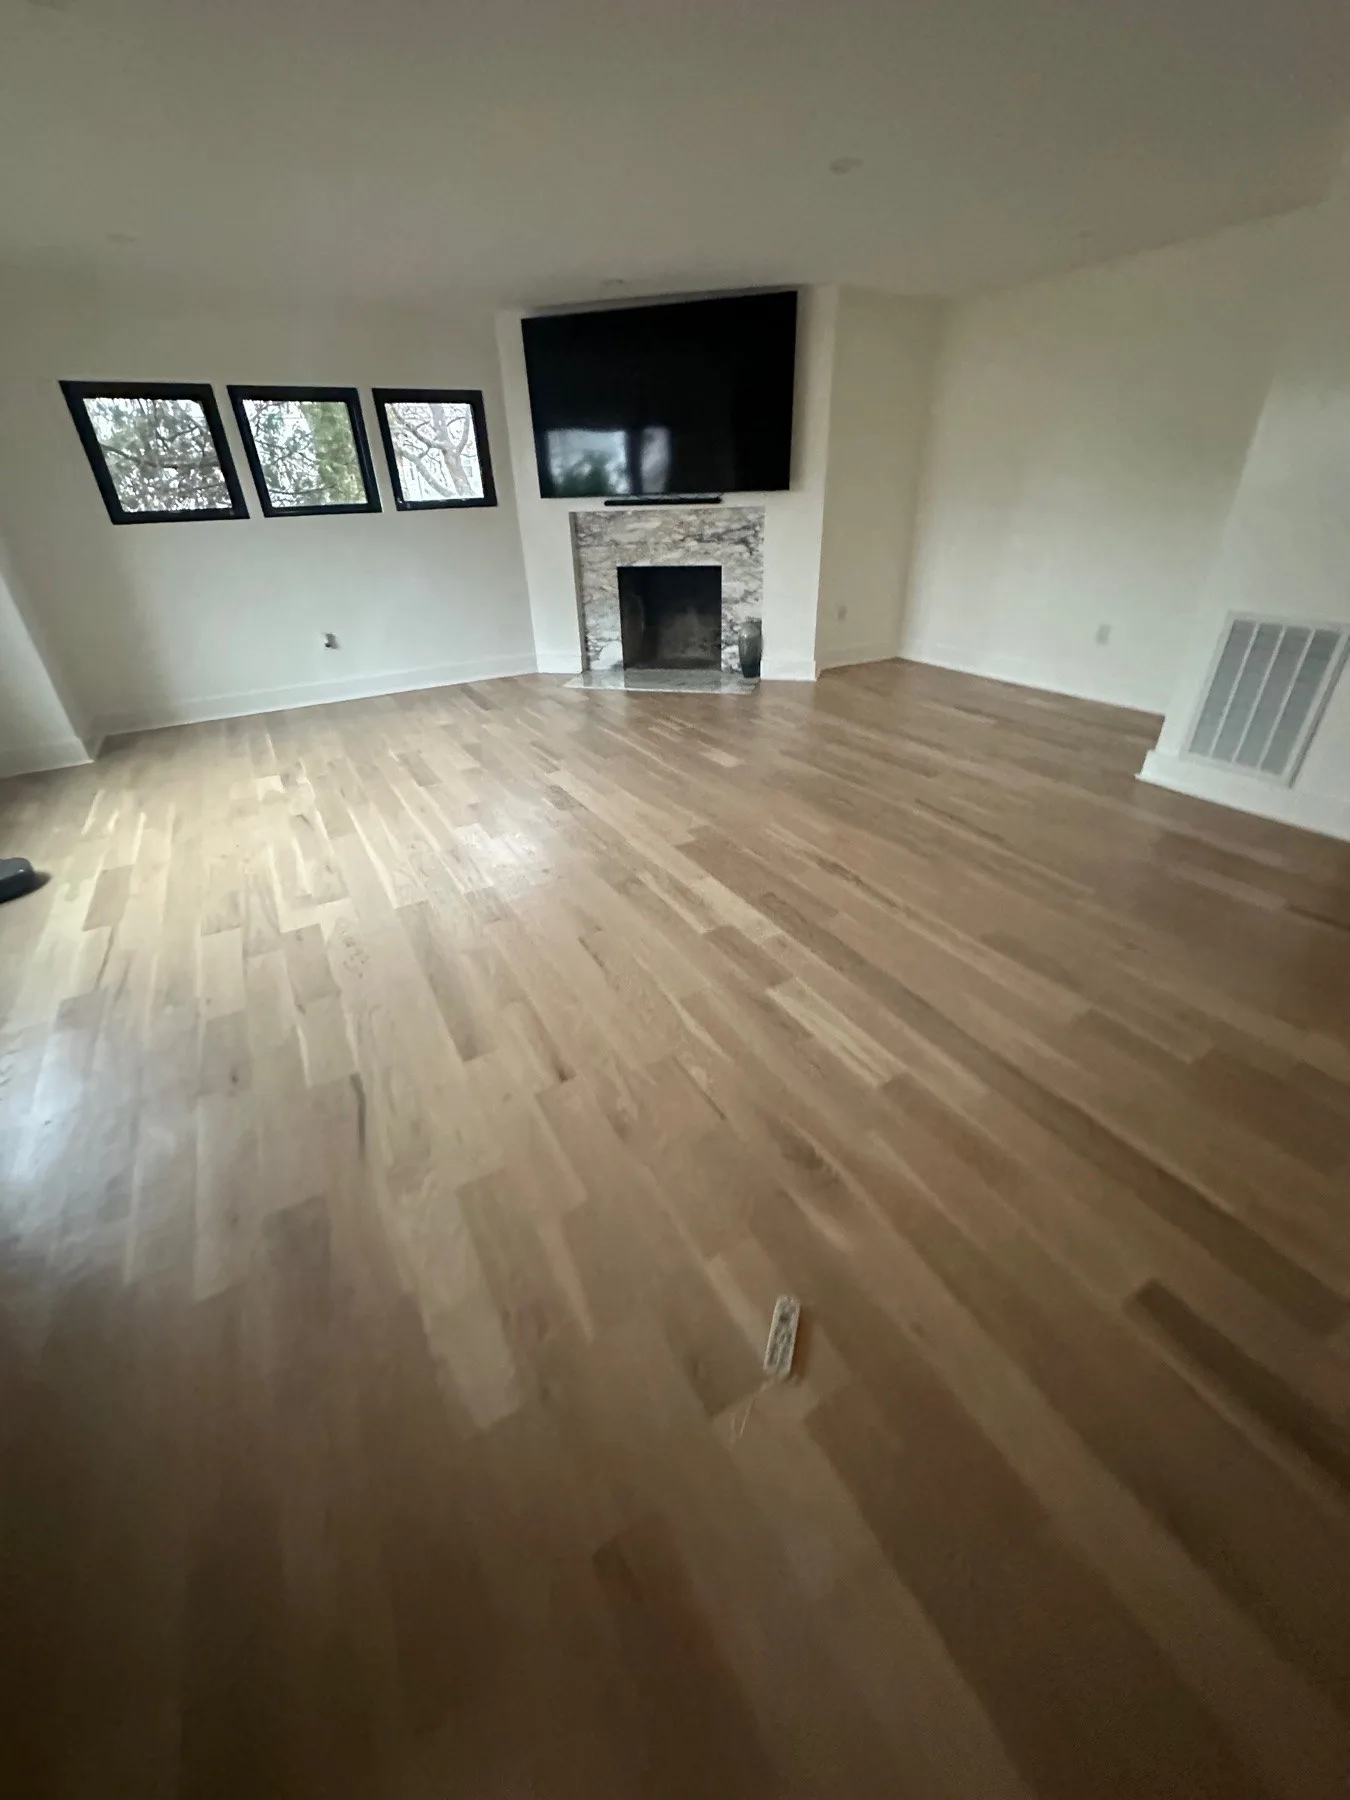
Some rooms need a whole new layout. This one didn't. When we walked into this Hackensack living room, the bones were good: a big open space, a row of windows along one wall, and a fireplace centered on a bumped-out chimney wall. What it needed was a floor, a fireplace that looked like it belonged, and a clean finish on everything else.
Here's how the job went, and what we'd tell any New Jersey homeowner planning a living room makeover.
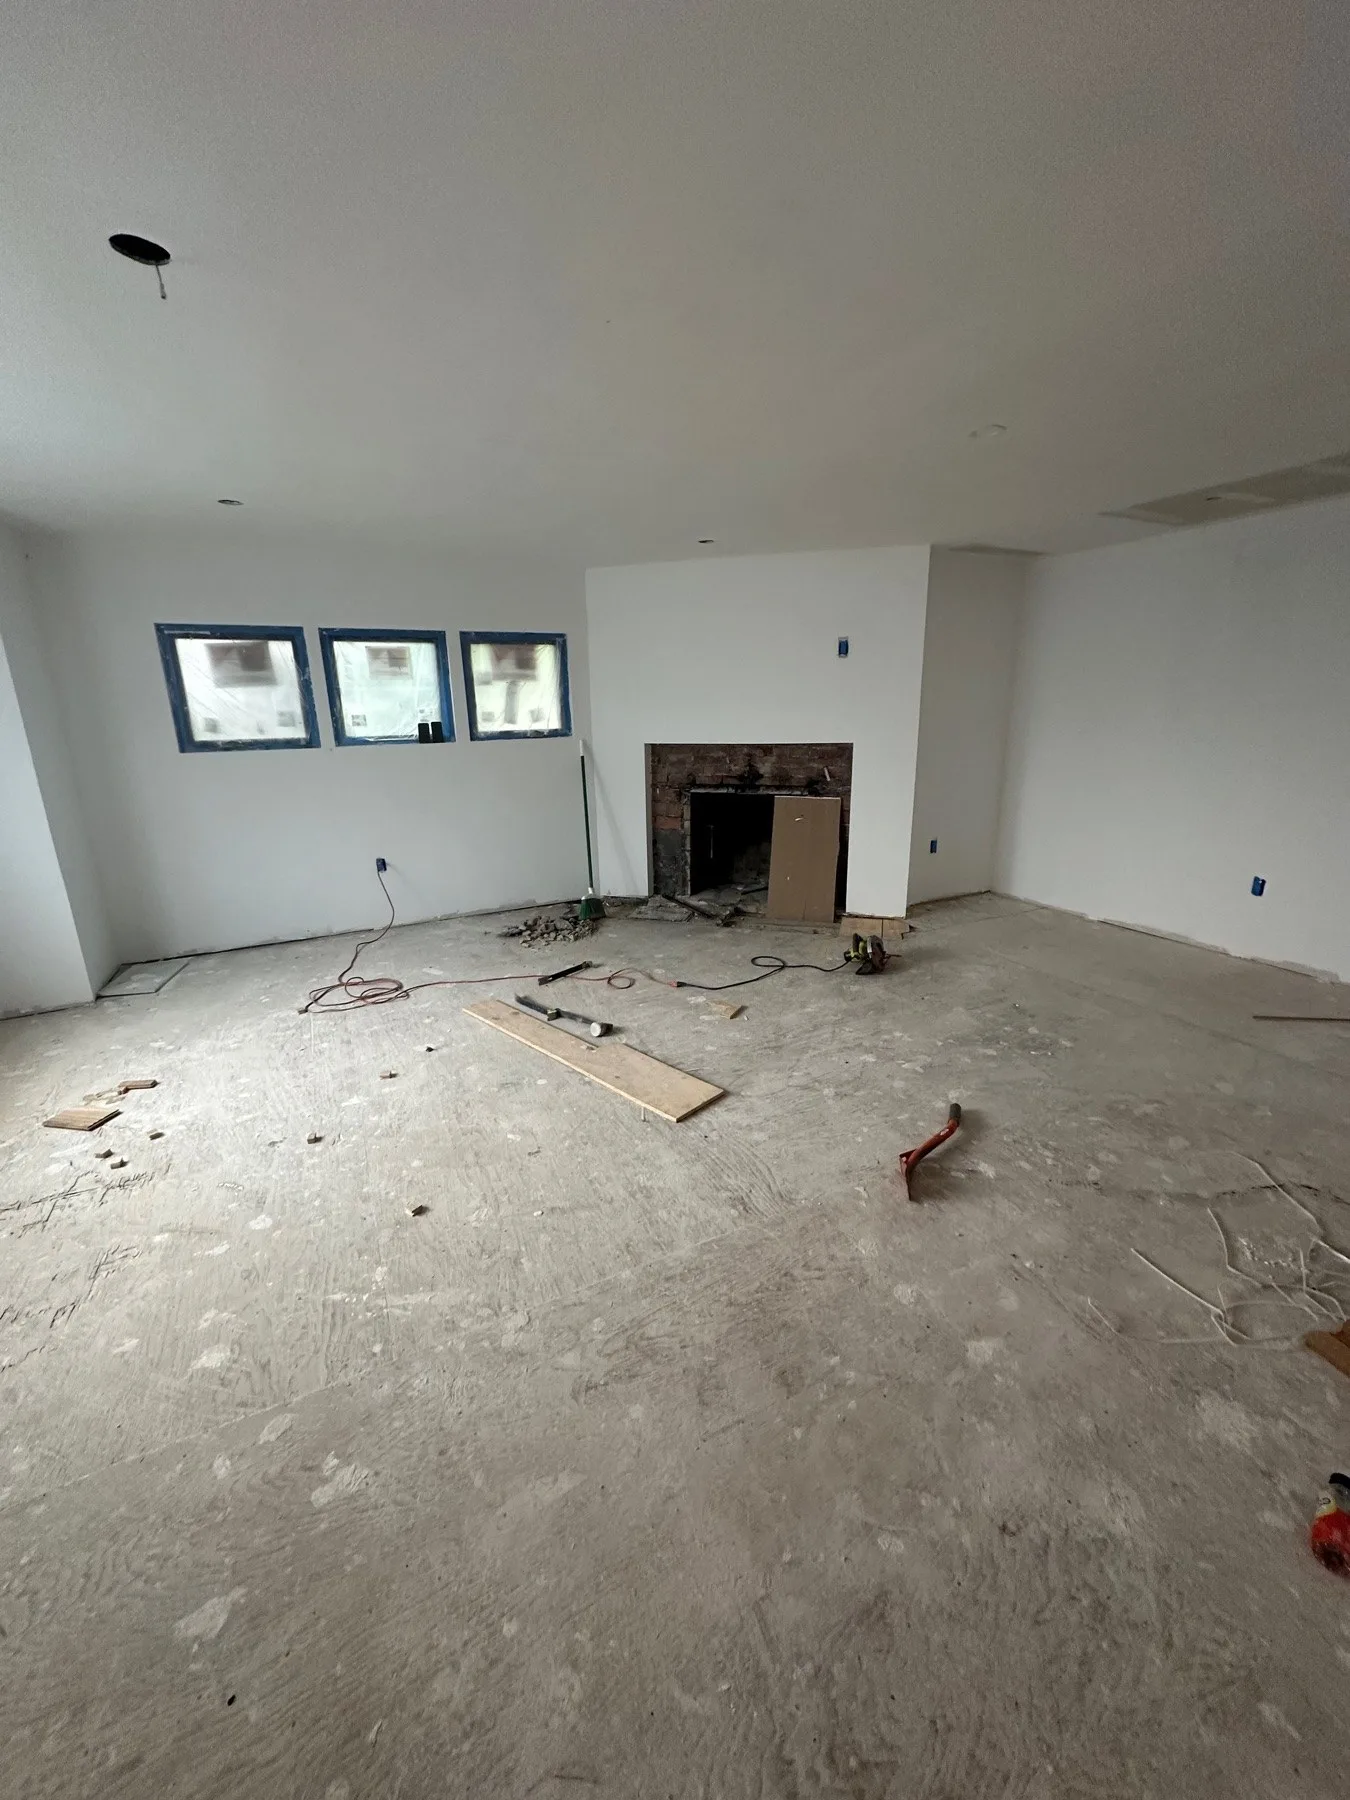
Where we started
The before photos tell the story. The old flooring was gone and the room was down to the subfloor, with patch marks and debris across it. The fireplace still had its old brick face, chipped and stained around the opening, with loose masonry sitting on the floor in front of it. The walls had fresh drywall and were ready for finish.
That's actually a good place to start a living room. With the subfloor exposed, you can see and fix problems before anything gets covered up for the next 20 years.
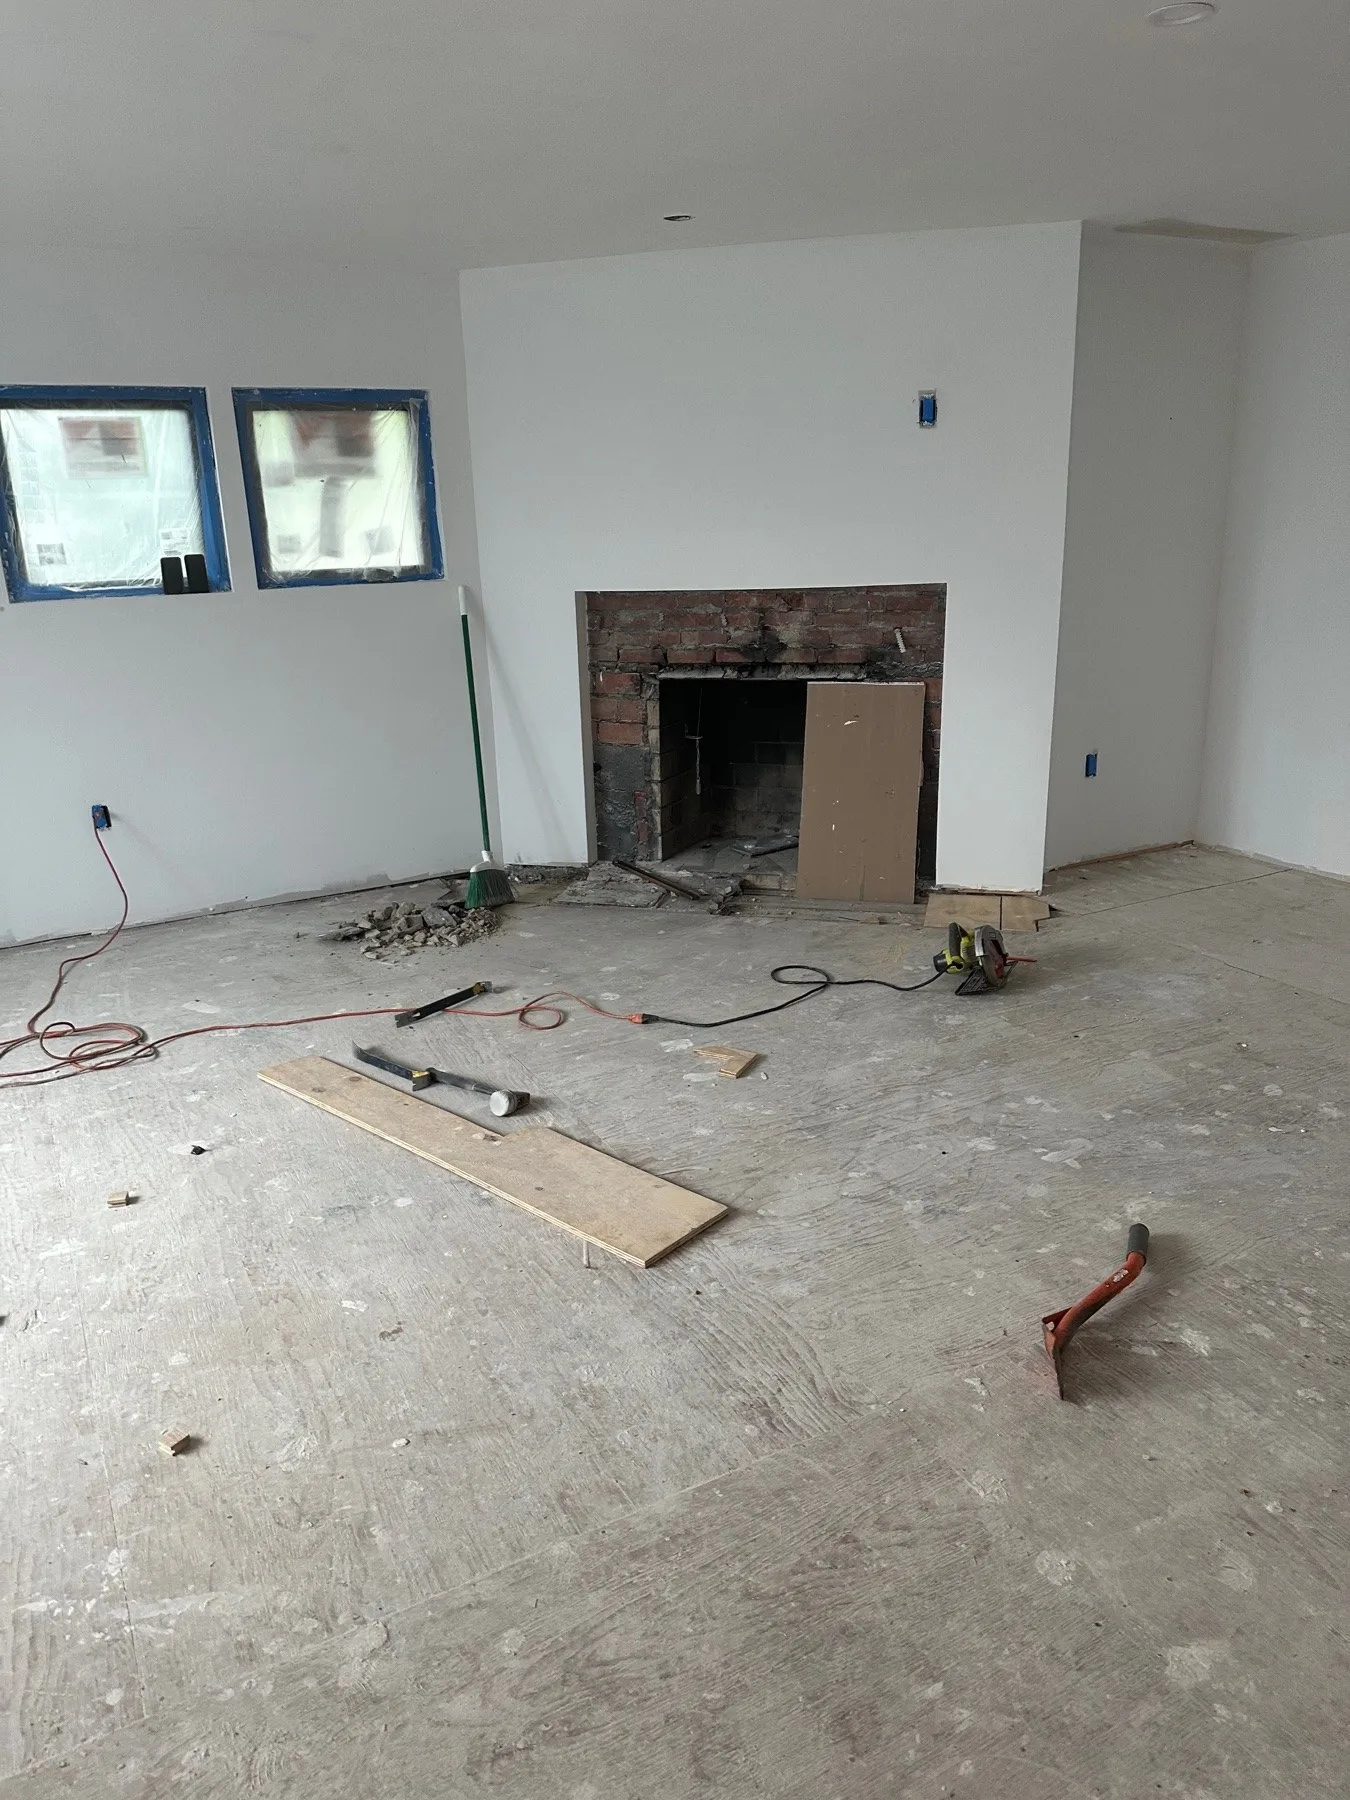
Step 1: Get the subfloor right before any hardwood goes down
A hardwood floor is only as good as what's under it. Before we lay a single board, we walk the whole subfloor: we listen for squeaks, look for soft spots and high or low areas, and screw down anything that moves. Squeaks you ignore now become squeaks you hear every night.
Moisture matters just as much. Wood moves with humidity, and wide boards move more. The National Wood Flooring Association's guidelines say the flooring and the wood subfloor should be close in moisture content before installation: no more than a 4 percent difference for solid strip flooring under 3 inches wide, and no more than 2 percent for solid plank flooring 3 inches or wider. They also say to have the heat or air conditioning running for at least five days before install so the room is at normal living conditions, and to follow the manufacturer's acclimation instructions first.
In plain words: don't let anyone deliver wide-plank hardwood on Monday and nail it down Tuesday without checking it with a moisture meter. That's how you end up with gaps in winter and cupping in summer.
Step 2: Pick the floor for how you live
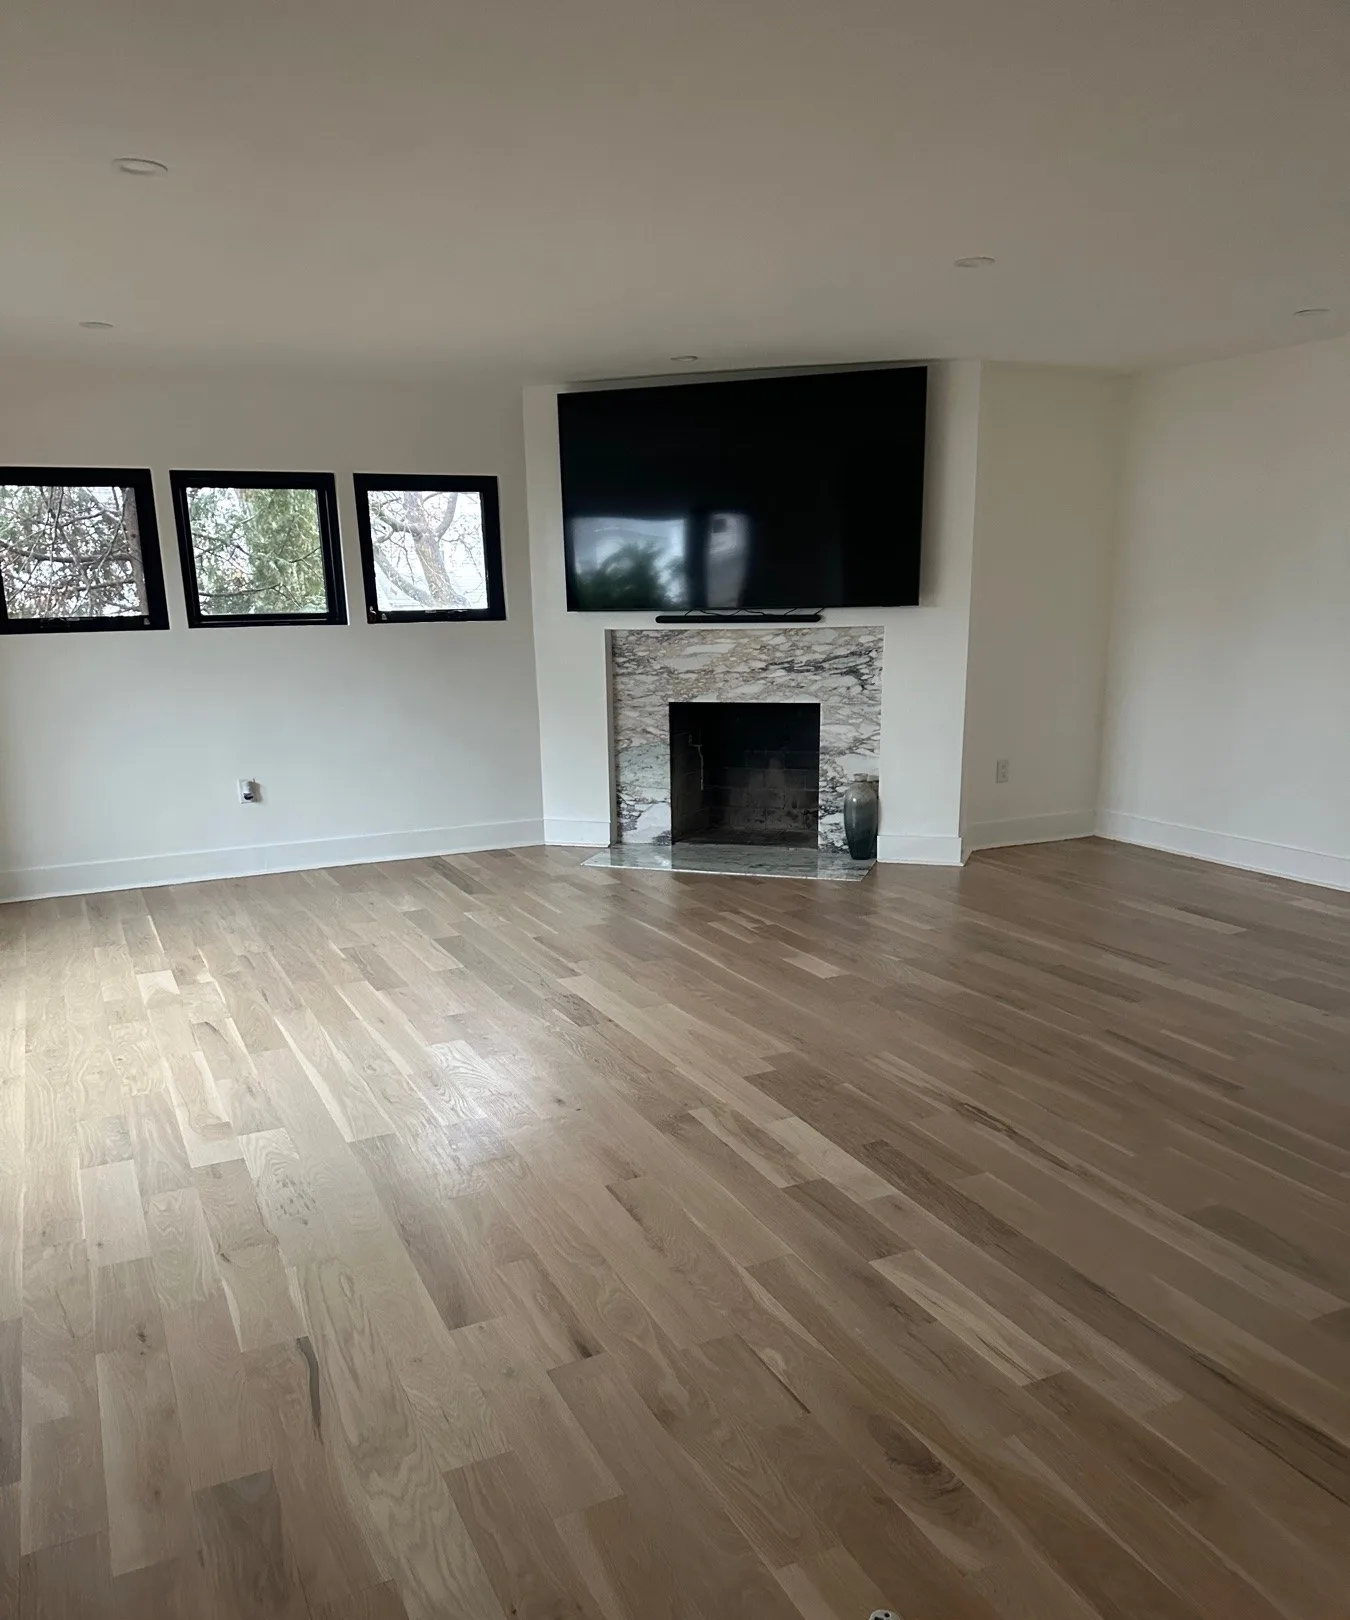
This room got wide-plank hardwood in a light, natural tone. Lighter wood keeps a big room bright, and it's more forgiving with dust and pet hair than a dark, glossy floor. Wide planks also make a large room feel calmer, with fewer seams running across it.
A few things we go over with homeowners before ordering:
- Solid or engineered. Solid hardwood can be sanded and refinished many times. Engineered flooring is more stable where humidity swings, like over a slab or in a basement.
- Finish. A matte or satin finish hides scratches far better than high gloss.
- Direction. Boards usually run toward the main light source or along the longest wall. In this room they run the length of the space, which makes it read even bigger.
- Order extra. Plan for cuts and waste so you're not stuck matching a different production batch later.
Step 3: Reface the fireplace with the right materials
The fireplace was the focal point, so it got the most attention. The chipped brick face is now covered with a natural stone surround with bold gray veining, and the hearth in front is finished in stone too. Crisp white paint and baseboards around it let the stone stand out.
If you're refacing a fireplace that you'll actually use, the materials near the opening aren't just a style choice. New Jersey's residential code is based on the International Residential Code, which sets rules for masonry fireplaces, including:
- Hearth extension size. At least 16 inches in front of the opening and 8 inches past each side, or 20 inches and 12 inches if the opening is 6 square feet or larger.
- Combustible trim. A wood mantel or trim can't be within 6 inches of the opening, and anything combustible within 12 inches can only stick out a little (1/8 inch for every inch of distance from the opening).
Stone, tile and other noncombustible materials are the safe choice right around the firebox. Before refacing a working fireplace, it's also smart to have a chimney sweep inspect the flue and firebox, so you're not putting a beautiful new face on a chimney that needs repair.
Step 4: Finish the room, not just the floor
Once the floor and fireplace were in, the details pulled it together: new white baseboards, fresh paint, and a clean wall above the fireplace with room for a TV. Small things like matching the baseboard to the trim, and protecting the new floor while the last trades finish up, are what make a room look done instead of almost done.
Do you need a permit for this kind of work in NJ?
Often less than people think. Under New Jersey's Uniform Construction Code (N.J.A.C. 5:23-2.7), replacing or installing flooring with new material and interior painting are ordinary maintenance, so no permit is needed for those alone. But any work that affects fire safety or structure is not ordinary maintenance, and neither is moving wiring or adding outlets. If your project touches the fireplace or chimney structure, the electrical, or a wall, check with your town's construction office first (more in our guide: do I need a permit for my renovation in New Jersey?). In Hackensack that's the city's Department of Building, Housing and Land Use. A licensed contractor should handle this for you, not leave it to you.
Planning your own living room makeover?
Whether it's new hardwood, a tired fireplace, or a whole room that needs to feel finished, we can walk it with you and give you a straight plan. Hoboken GC LLC is licensed and insured (NJ Home Improvement Contractor License #13VH13409900), open 24/7, and works in Hoboken, Hackensack and across Hudson County and nearby New Jersey towns.
Call (201) 815-4260 or request a free estimate at hobokengc.com. You can also email hobokengc2023@gmail.com or see more of our work on Instagram at @hoboken_gc_llc.